Visual Studio Code 설치
https://code.visualstudio.com/ 여기서 내려받을 수 있다.
내려받아서 설치하자.
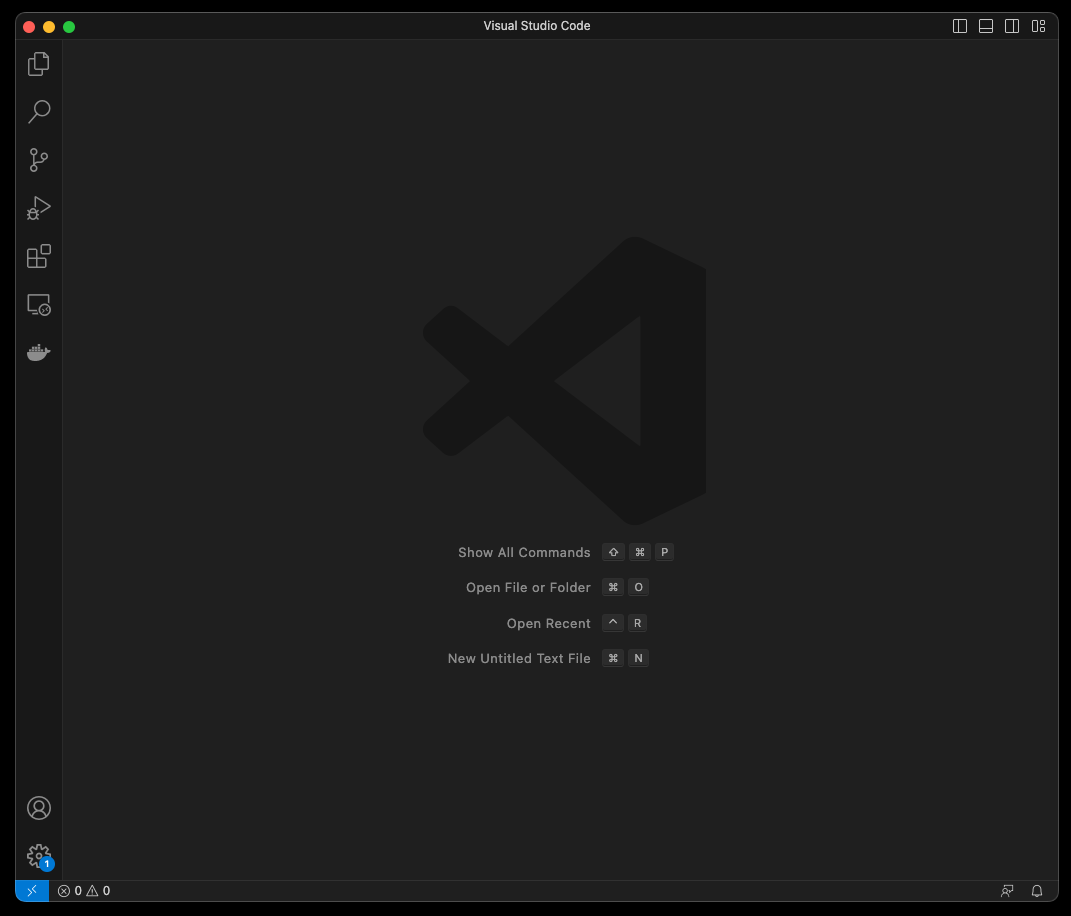
실행하면 아래와 같은 화면이 나타난다.
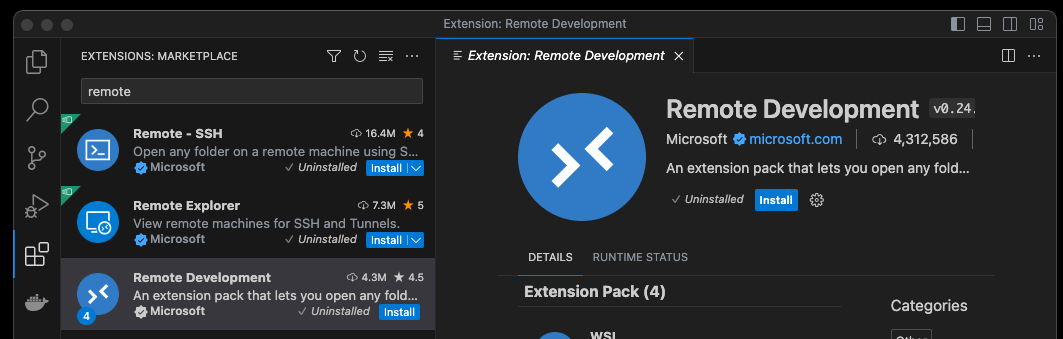
네모가 4개 있는 아이콘이 익스텐션 아이콘이다. 그것을 누른 뒤 검색창에 remote를 누르고 Remote Development를 설치하자.
SSH 접속 설정
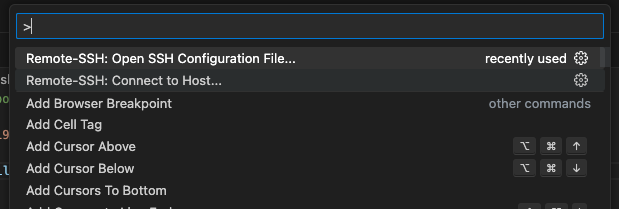
F1키를 누르자.
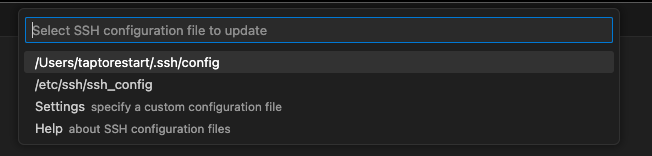
아래처럼 최상단에 Remote-SSH: Open SSH Configuration File... 을 클릭한다.

기본 값인 가장 맨 위의 /.ssh/config를 누른다.
아래처럼 파일이 생성된다. 입력 내용에 맞게 입력하면 된다.
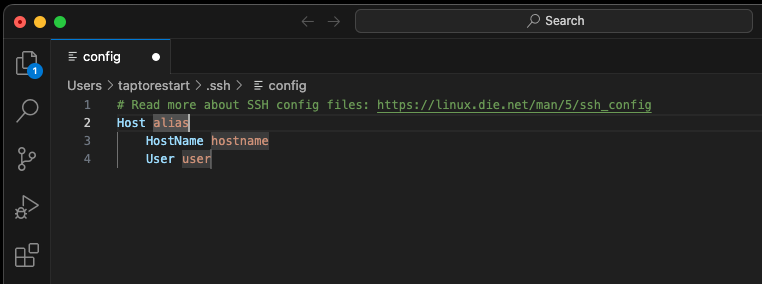
내 로컬 AI 서버 접속 설정 정보 예는 다음과 같다. private key를 이용해서 접속하는 경우 아래 예처럼 IdentityFile ~/.ssh/id_rsa를 추가해주면 된다.
# Read more about SSH config files: https://linux.die.net/man/5/ssh_config
Host dev-ai
    HostName 192.168.0.39
    User dev
    IdentityFile ~/.ssh/id_rsa
입력이 끝났으면 Ctrl+S를 눌러서 저장한다. VSCode는 기본 설정이 자동 저장이 아니라서, Ctrl+S를 눌러서 저장해야 한다.
SSH 접속
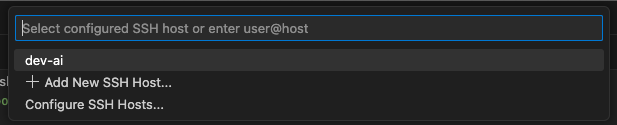
설정이 끝났으니 접속하자. F1키를 누르자. Remote-SSH: Connect to Host... 를 클릭하자.
아까 별칭alias로 등록해둔 설정 dev-ai가 보인다. 클릭하자.
접속에 성공하면 새창이 뜬다.
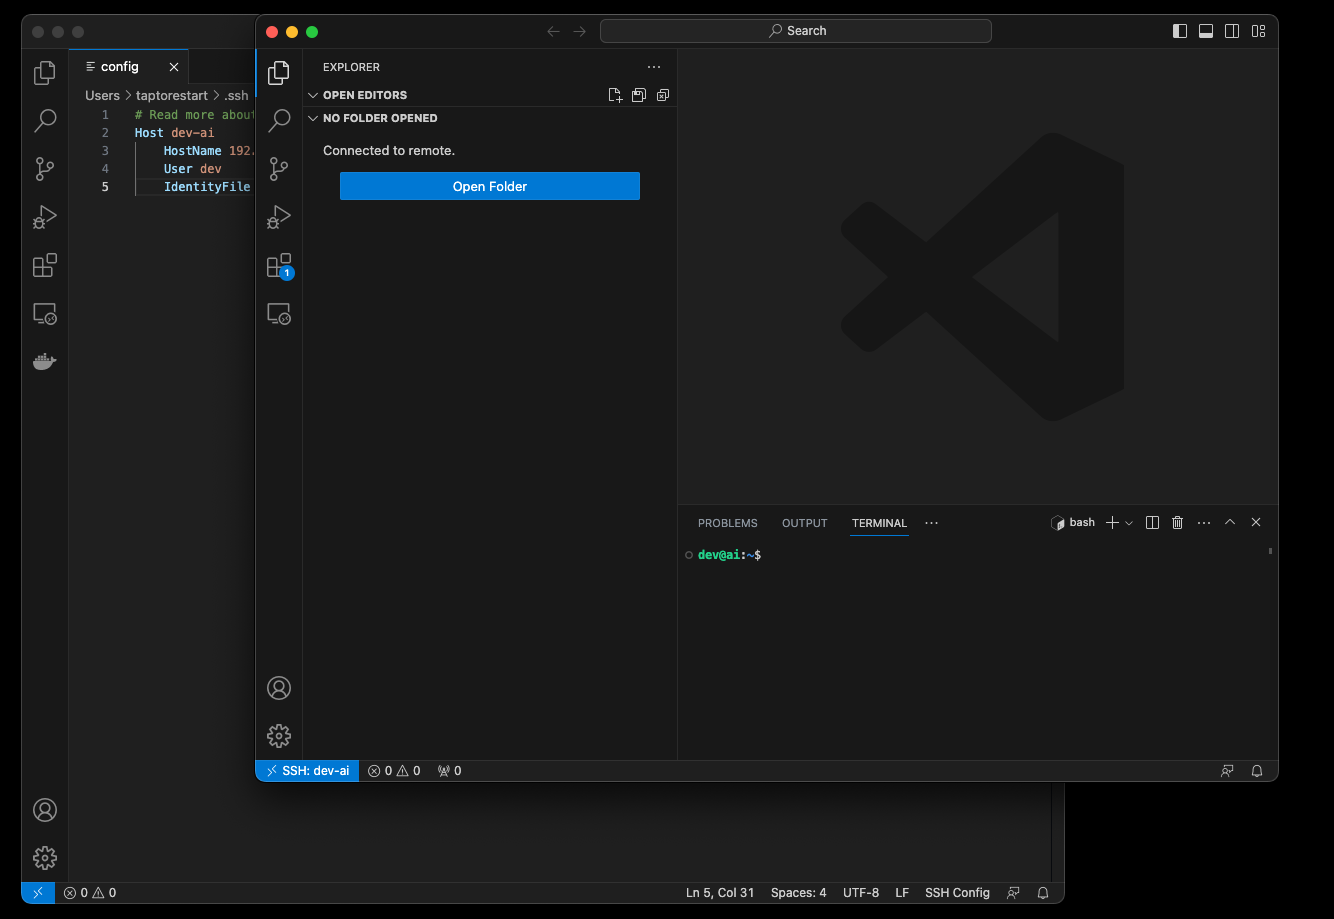
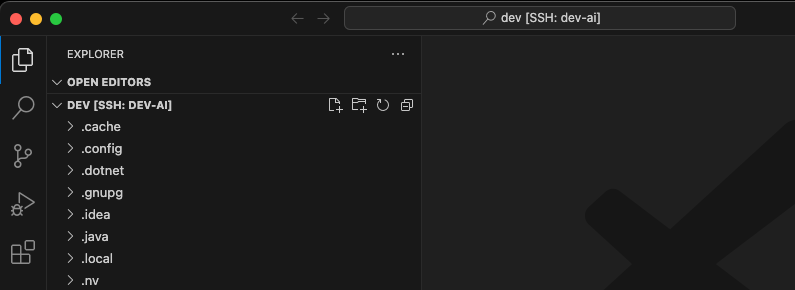
Open Folder를 눌러서 주로 작업할 폴더를 선택하자. 선택이 어렵다면 그냥 접속 계정의 홈폴더를 선택해도 된다. 홈폴더를 선택한 예이다.
파이썬 파일 실행
테스트를 위한 폴더를 추가한다. 내 경우 playground라고 추가했다.
명령어로 venv란 폴더 안에 파이썬 가상환경을 추가하고, 활성화한 뒤 pandas를 설치하자.
$ python3 -m venv venv
$ source ./venv/bin/activate
$ pip install pandas
그리고 main.py 파일을 추가하고 아래와 같은 코드를 입력한다.
import sys
import pandas as pd


def hello_world():
    message = "hello world"
    print(sys.argv)
    print(message)


if __name__ == "__main__":
    hello_world()
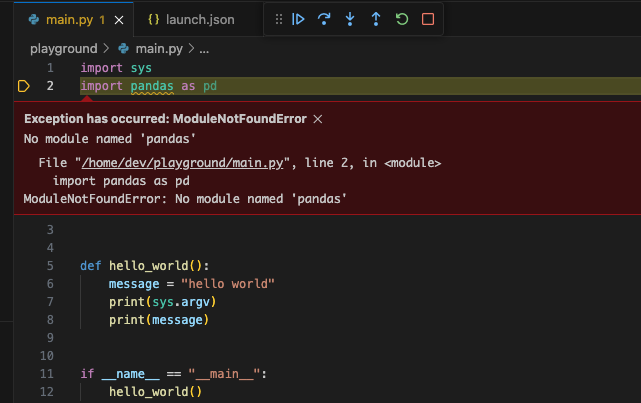
오른쪽 위에 있는 ▷ 실행 버튼을 클릭한다. 에러가 발생한다.
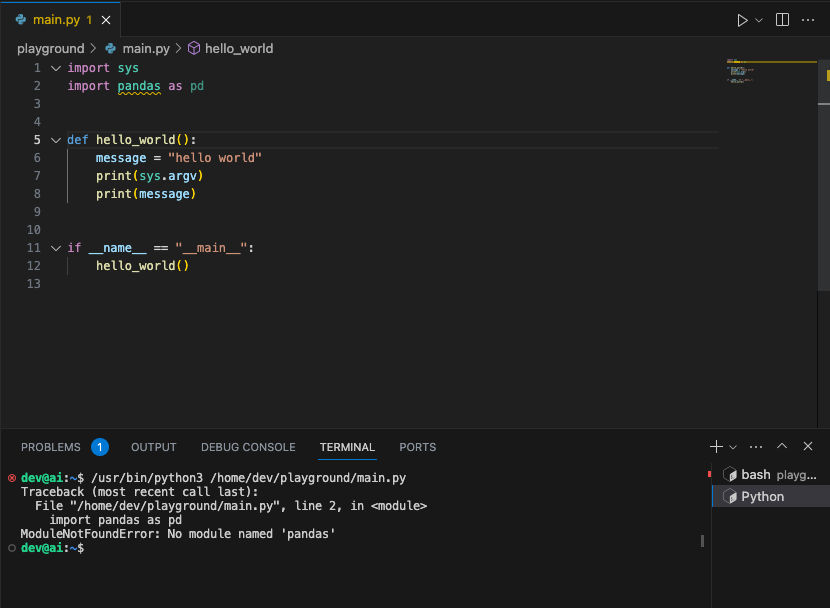
pandas를 못 찾아서 발생한 문제다. 앞에서 만든 파이썬 가상환경이 아니라 기본 파이썬으로 실행하기 때문이다. 설정 파일을 추가해야 한다.
설정 추가
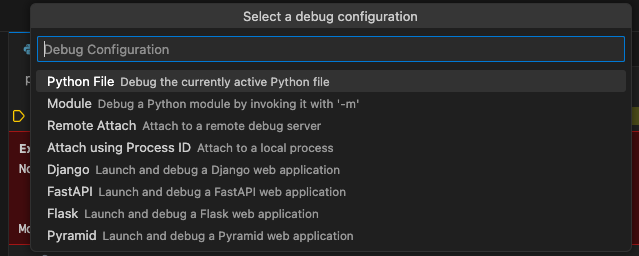
맨 왼쪽 아이콘 중 벌레와 실행 버튼이 같이 있는 아이콘을 누르자. 위에 No Configurations를 눌러서 Add Configuration...을 누른다.

파이썬 파일을 선택하자.
launch.json 파일이 추가되는 것을 볼 수 있다.
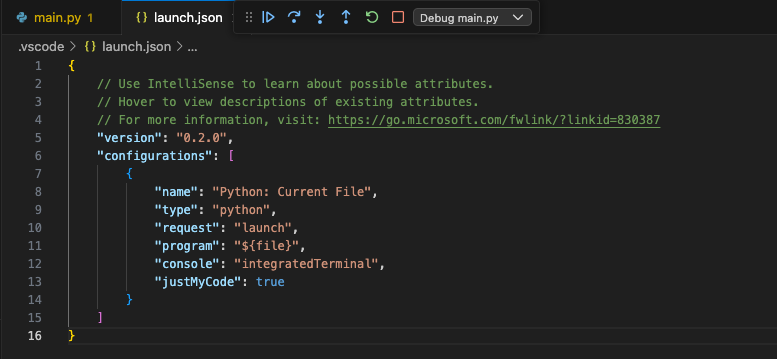
test 용이니 name을 test로 변경하자.
{
    // Use IntelliSense to learn about possible attributes.
    // Hover to view descriptions of existing attributes.
    // For more information, visit: https://go.microsoft.com/fwlink/?linkid=830387
    "version": "0.2.0",
    "configurations": [
        {
            "name": "test",
            "type": "python",
            "request": "launch",
            "program": "${file}",
            "console": "integratedTerminal",
            "justMyCode": true
        }
    ]
}
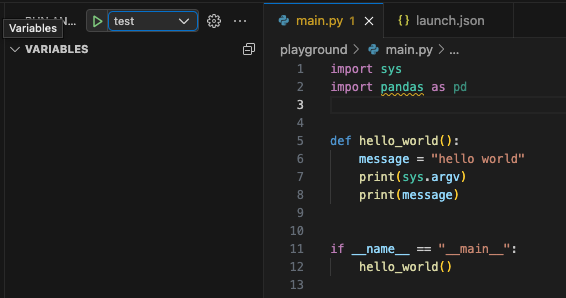
▷ 실행 버튼 옆에 test가 적힌 것을 볼 수 있다.
실행해보자. 여전히 에러가 난다. playground/venv/bin/python3를 사용해서 실행하지 않았기 때문이다.
python 관련 설정을 launch.json에 추가하자. 아래 한 줄을 추가하면 된다. 경로는 본인 환경에 맞게 하자.
"python": "/home/dev/playground/venv/bin/python3",전체 설정이다.
{
    // Use IntelliSense to learn about possible attributes.
    // Hover to view descriptions of existing attributes.
    // For more information, visit: https://go.microsoft.com/fwlink/?linkid=830387
    "version": "0.2.0",
    "configurations": [
        {
            "name": "test",
            "type": "python",
            "request": "launch",
            "program": "${file}",
            "console": "integratedTerminal",
            "python": "/home/dev/playground/venv/bin/python3",
            "justMyCode": true
        }
    ]
}
디버깅
초록색 실행 버튼 Start Debugging을 누르자. playground/venv/에 pandas가 설치되어 있기 때문에 이제 에러 없이 실행이 된다.

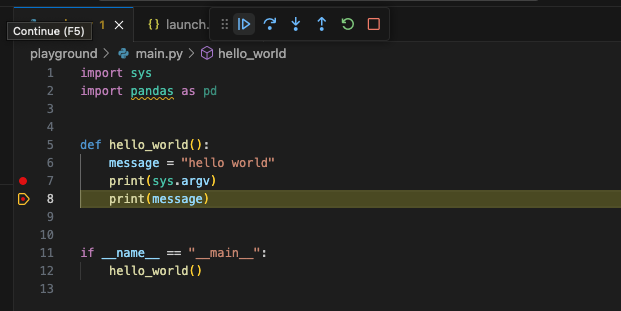
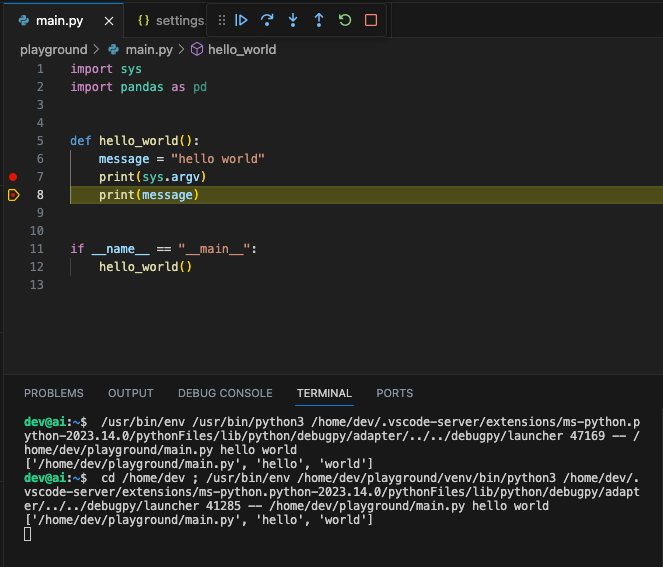
print 옆에 중지점breakpoint을 찍고 다시 실행해보자.
해당 지점에서 멈추는 것을 볼 수 있다. 왼쪽 창에 message: 'hello world'라고 message 변수에 저장된 정보도 쉽게 확인할 수 있다.

위쪽에 |▷ 일시정지 버튼을 누르면 다음 중지점으로 넘어가는 것을 볼 수 있다.
만약 스크립트 실행 시 전달인자argument를 추가하고 싶다면 앞의 설정에 아래 예처럼 추가하면 된다.
"args": ["hello", "world"],
전체 설정은 아래와 같다.
{
// Use IntelliSense to learn about possible attributes.
// Hover to view descriptions of existing attributes.
// For more information, visit: https://go.microsoft.com/fwlink/?linkid=830387
"version": "0.2.0",
"configurations": [
{
"name": "test",
"type": "python",
"request": "launch",
"program": "${file}",
"console": "integratedTerminal",
"python": "/home/dev/playground/venv/bin/python3",
"args": ["hello", "world"],
"justMyCode": true
}
]
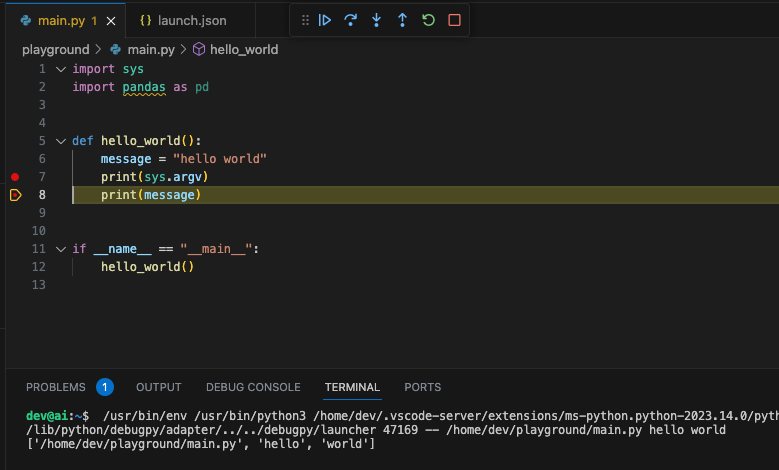
}다시 실행해보면 hello, world 인자argument가 들어온 것을 확인할 수 있다.
아예 파이썬 설정을 변경할 수도 있다.
아래 쪽 Python이란 글자를 누른다.
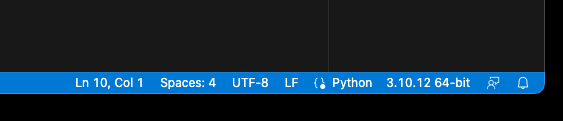
현재 Auto Detect인데 Configure 'Python' language based settings...를 누른다.

settings.json 파일이 생성된다.
{
    "workbench.startupEditor": "none",
    "[python]": {
        "diffEditor.ignoreTrimWhitespace": false,
        "editor.formatOnType": true,
        "editor.wordBasedSuggestions": false
    },
}
이 때 맨 아래쪽에 python 경로를 추가해준다.
{
    "workbench.startupEditor": "none",
    "[python]": {
        "diffEditor.ignoreTrimWhitespace": false,
        "editor.formatOnType": true,
        "editor.wordBasedSuggestions": false
    },
    "python": "/home/dev/playground/venv/bin/python3",
}
기존 launch.json에서 python 설정을 빼도 이제 제대로 실행된다. 그리고 pandas 밑에 있던 노란 밑줄도 사라진 것을 볼 수 있다.
관련 공식 문서
VSCode Debugging Launch.json attributes